Learn · Engraving Hub
Steady hands come
from practice, not talent.
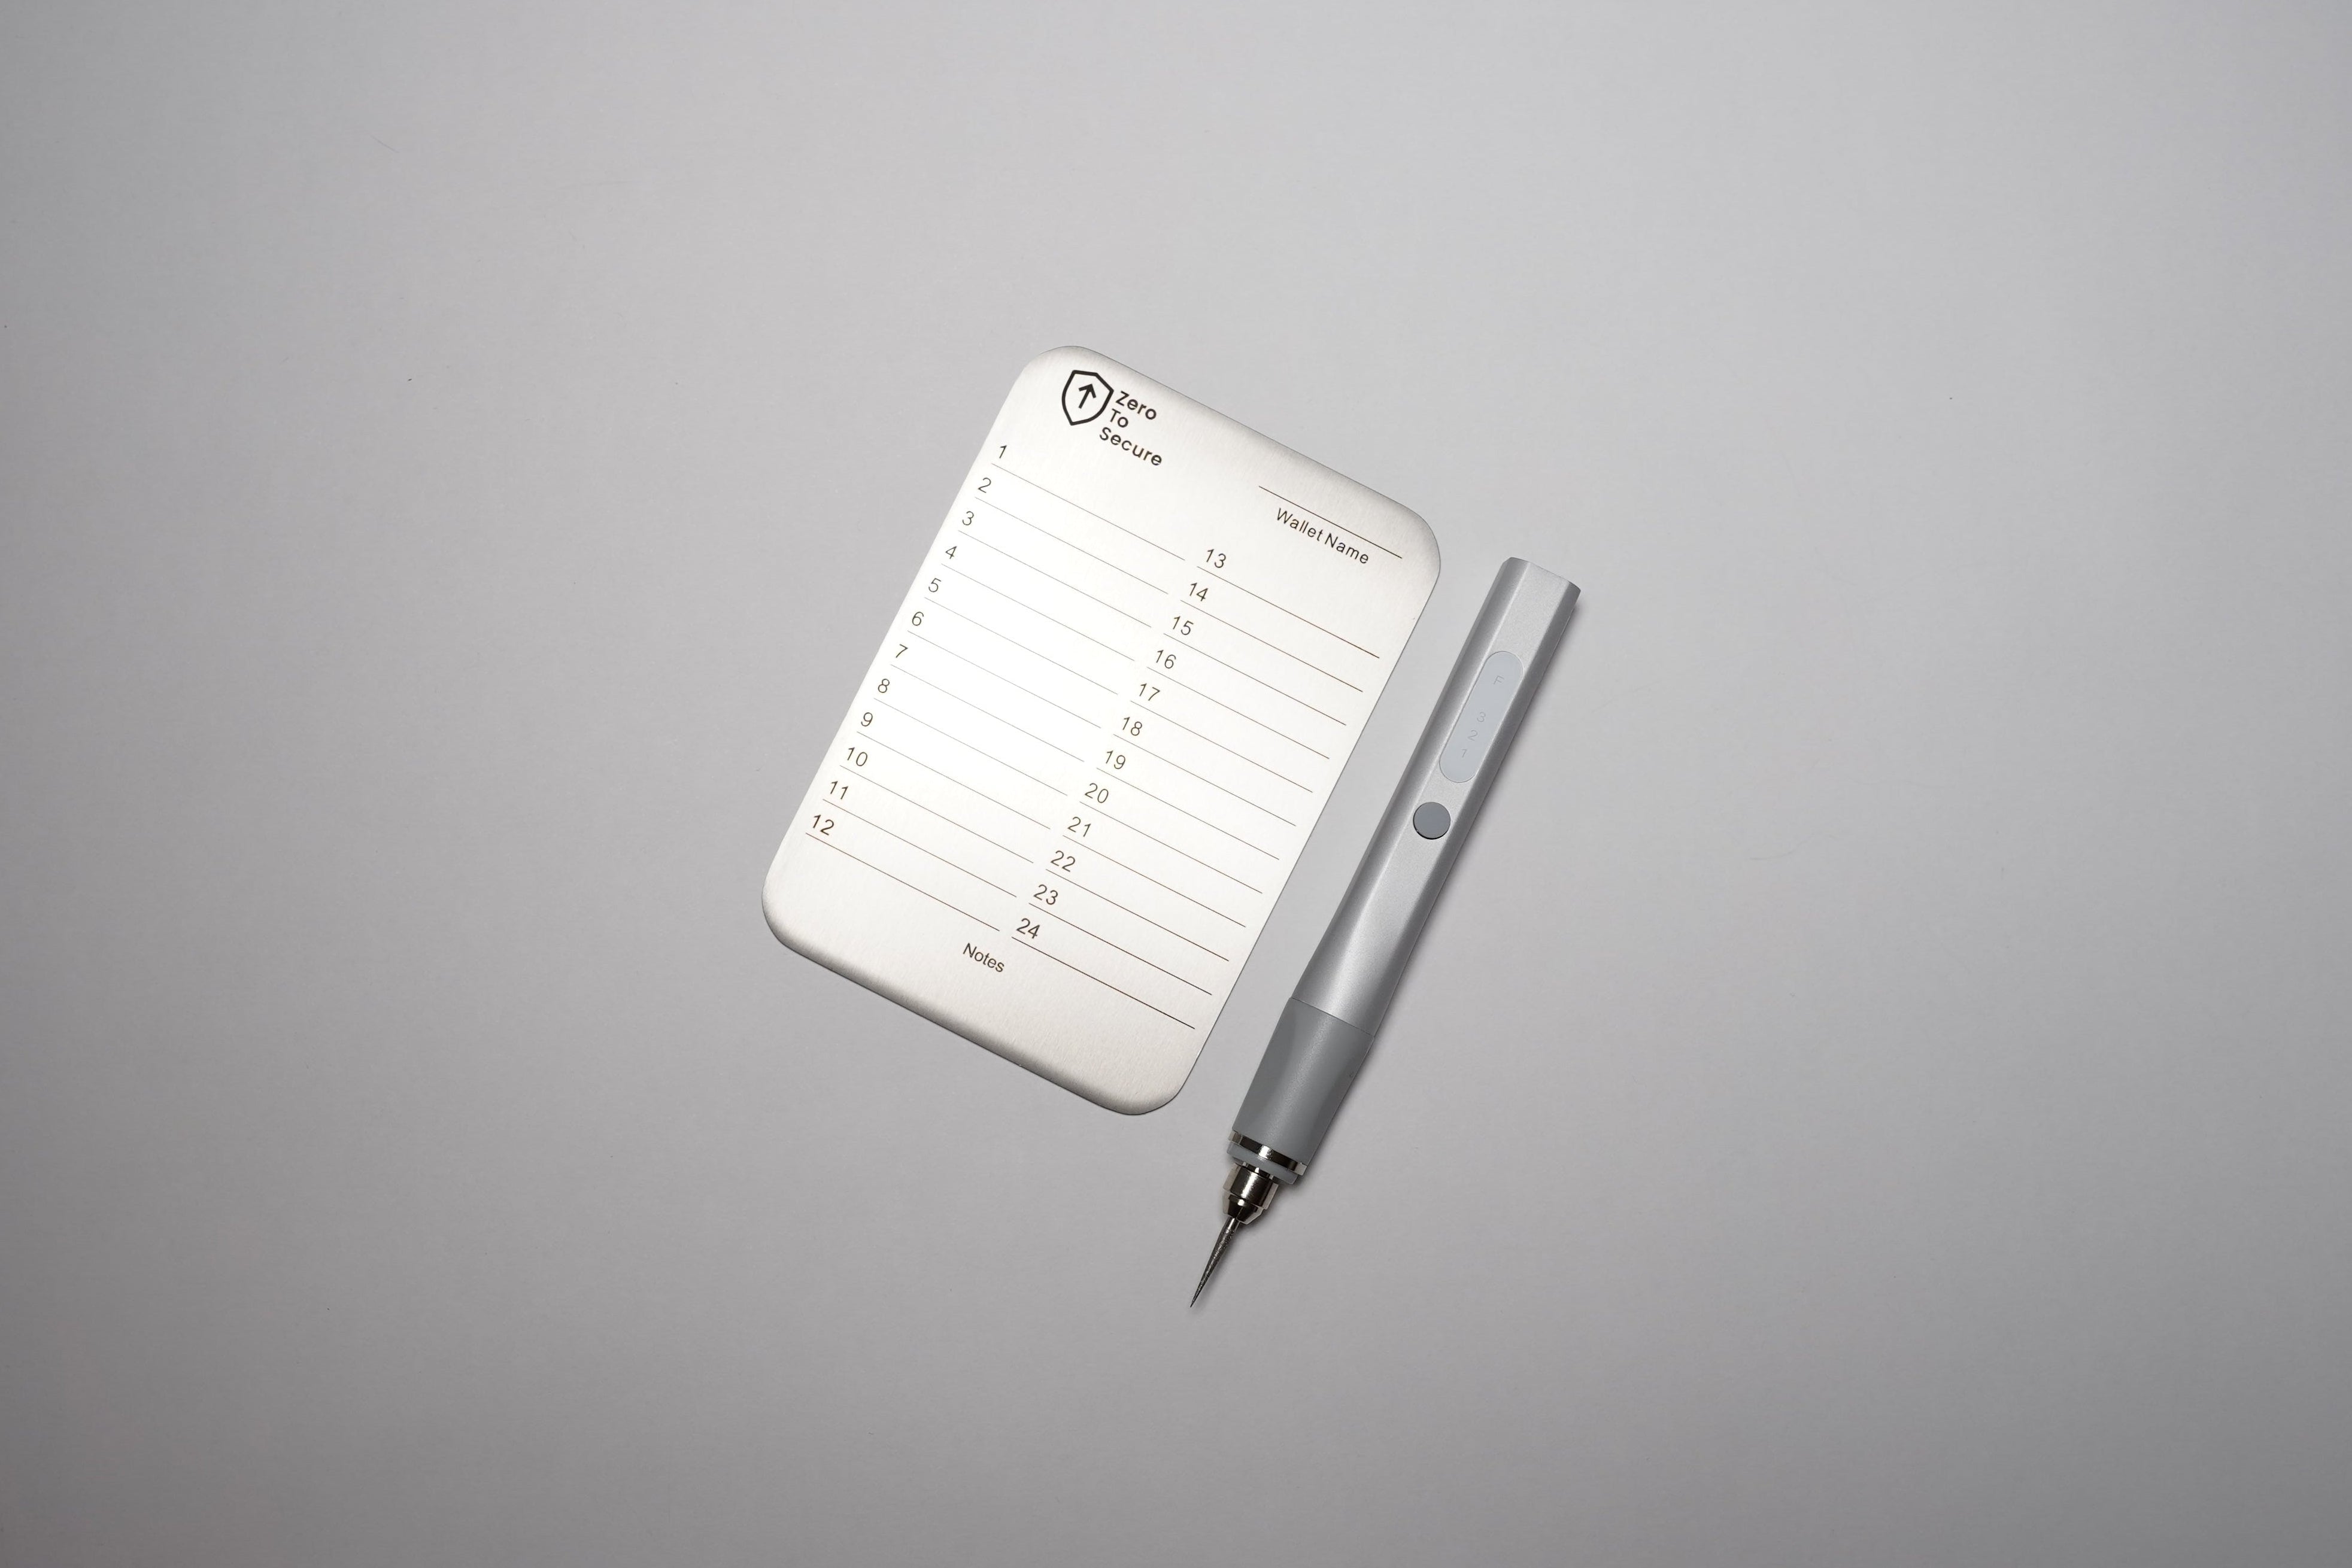
Every kit ships with a practice plate for exactly this reason. Learn the grip, the speed, and the pressure before a single real word is engraved.
Keep the plate still
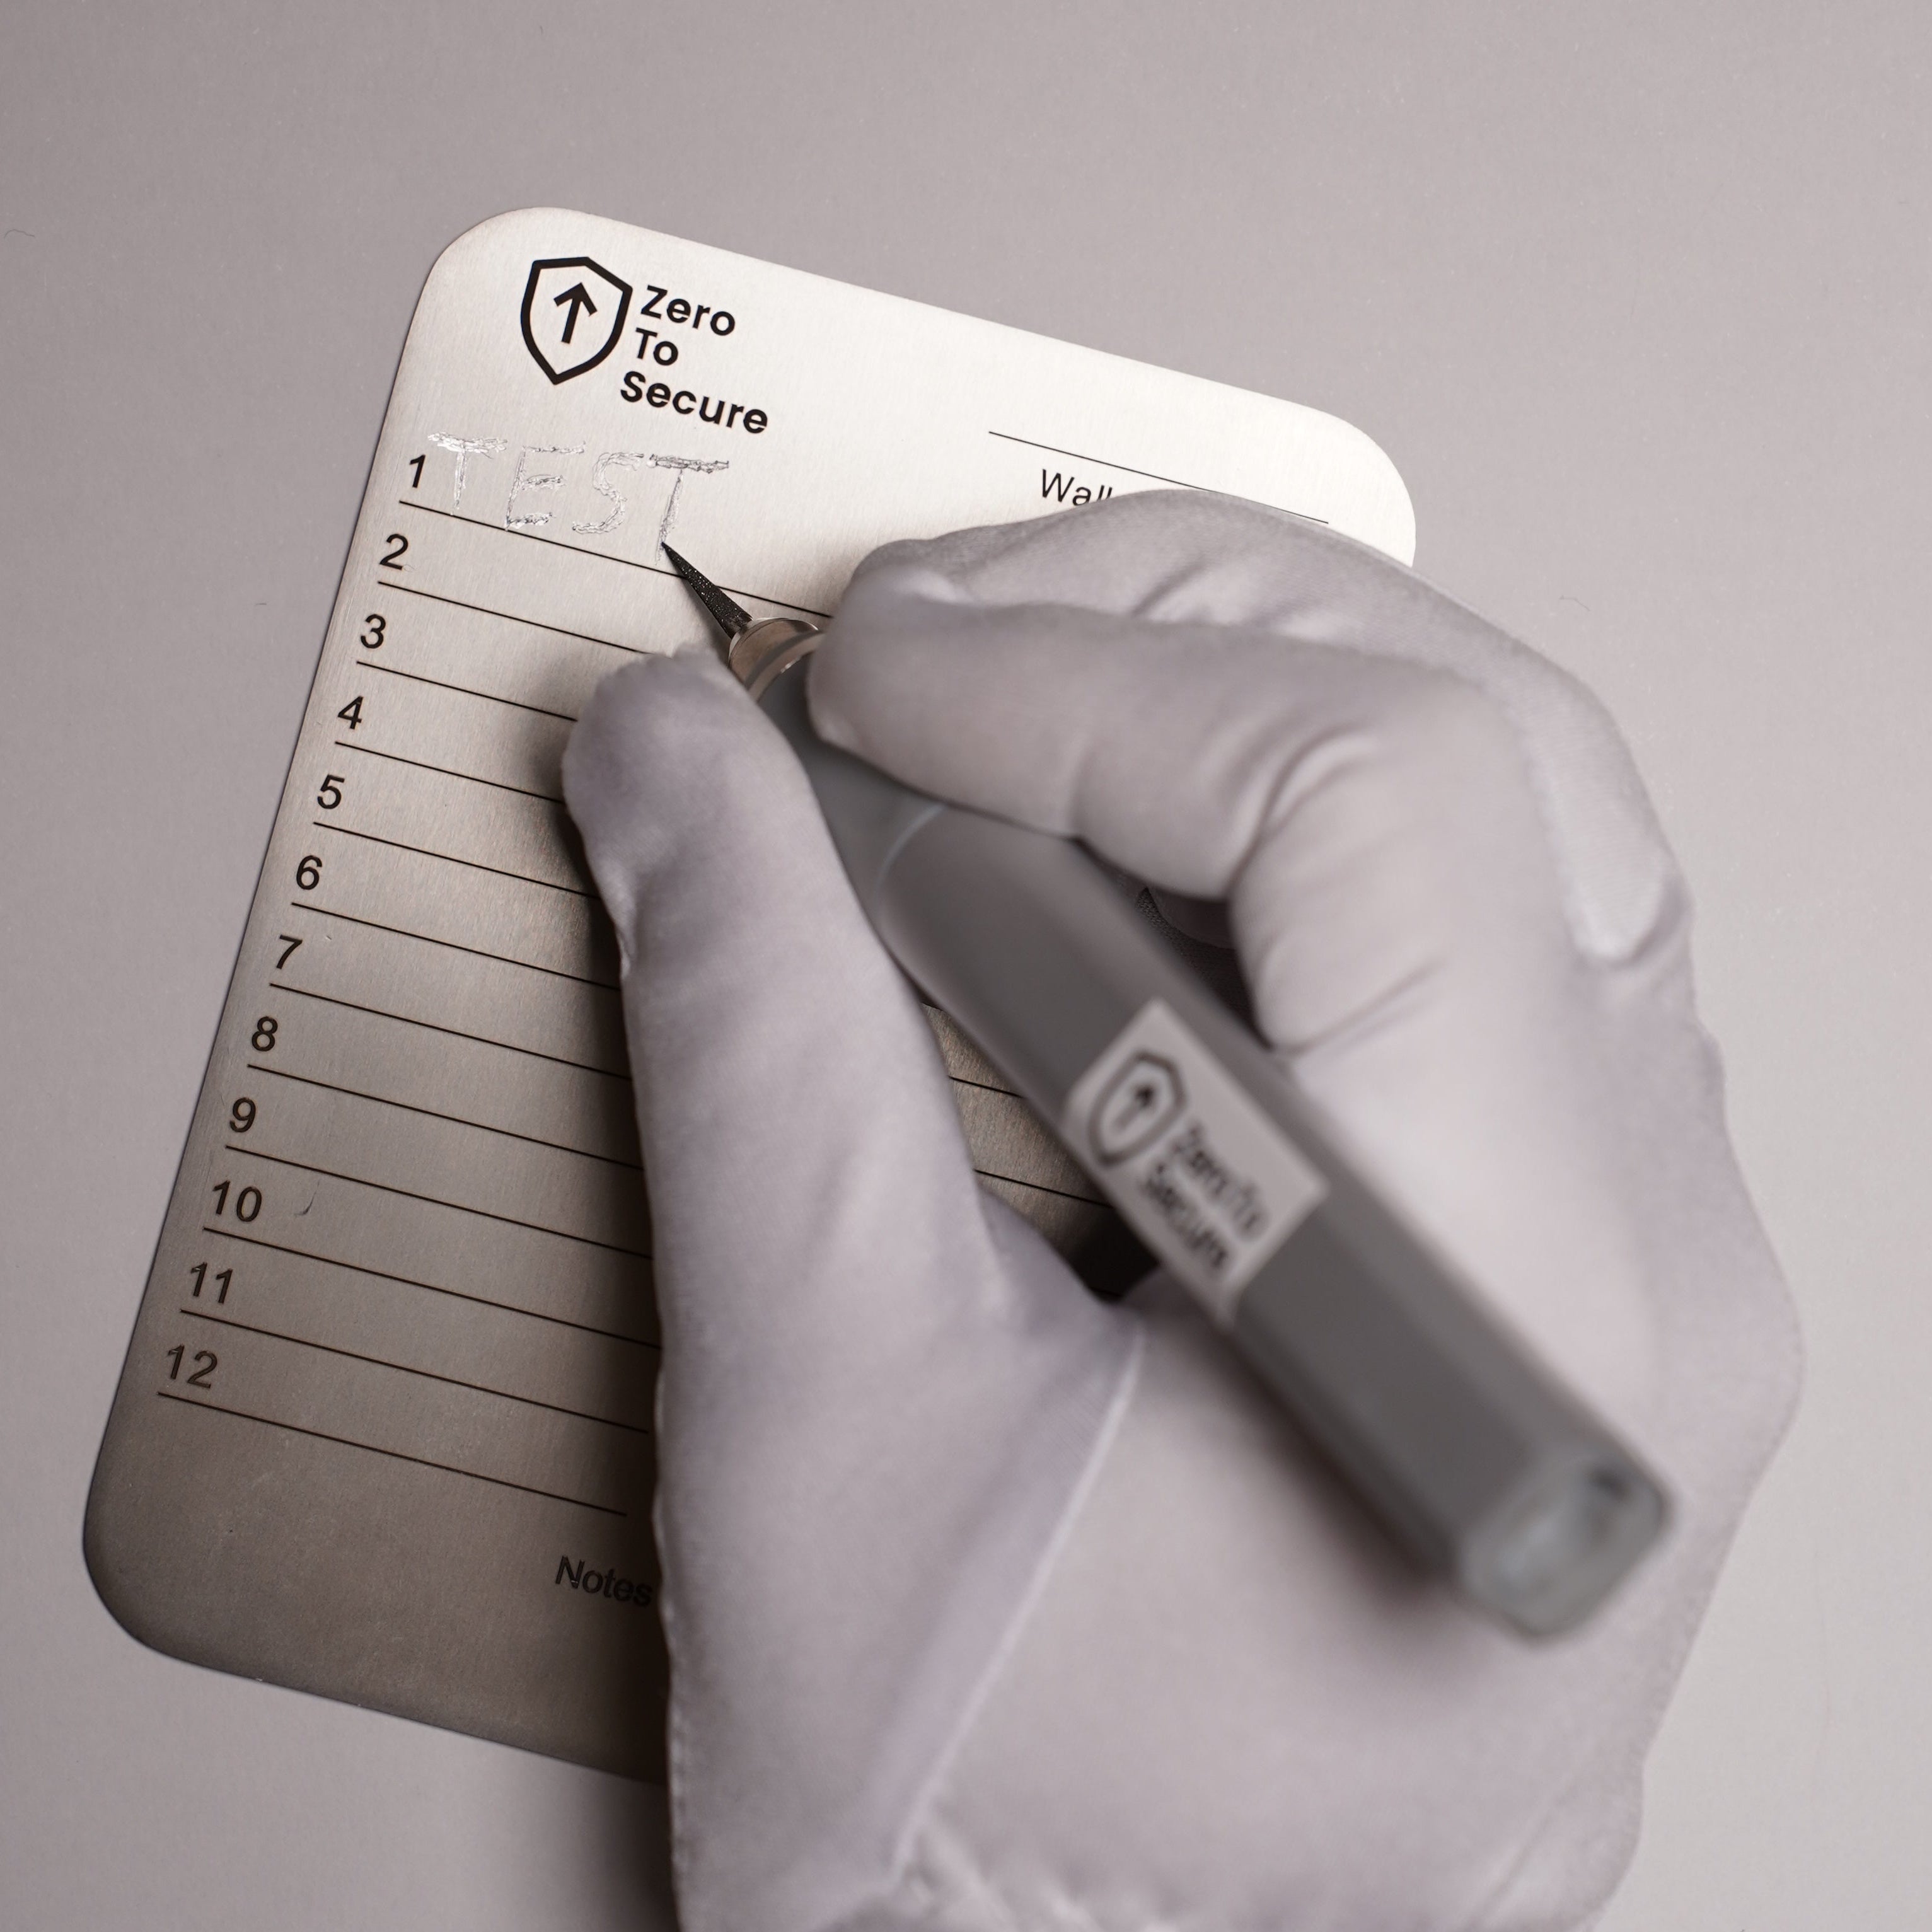
The plate stays firm on the mat — only your hand moves, slowly and in small strokes. Short, controlled marks stay legible for decades.
Trace, then deepen
Write each word lightly first, then pass over it again. The engraver does the work — you steer.
Verify before you store
Read every word back against your wallet, in order, under good light. Then wipe, pouch, and put it away.
Engraving FAQs
Before you make your first mark.
The questions we hear most from first-time engravers.
Do I need to practice before engraving my real plate? +
Yes. The practice plate helps you get comfortable with pressure, spacing, and technique before working on your final plate.
How much pressure should I apply with the engraver? +
Firm, steady pressure — enough to create a clear mark without forcing it. The engraver does the work; you guide it.
What if I make a mistake on the final plate? +
Minor errors won't affect functionality as long as you can read the word clearly. For major mistakes, contact us for a replacement plate.
How deep should each letter be? +
Deep enough to feel with your fingertip and remain legible for decades. If it looks faint, go over it again.
Why do I need to wipe steel shavings as I engrave? +
Shavings can obscure your work and scratch the surface. A quick wipe keeps your view clear and your plate clean.
Is it normal for the engraver to vibrate or feel strong? +
Yes. The vibration is how it cuts into steel. Hold it firmly and let the tool do the work.
How should I space each letter? +
Leave a small gap between letters so each one is distinct and easy to read years from now.
Can I engrave in multiple sessions or should I do it all at once? +
Either works. Take breaks if needed — accuracy matters more than speed.
Do I need the manual etching tool or is it optional? +
It's optional. Use it if you prefer a quieter, more controlled method or want to deepen specific letters.
What should I do after I finish engraving? +
Wipe the plate clean, double-check every word, and place it in the protective pouch.
Where should I store my completed plate? +
Store it like the key to your vault — secure, private, and offline. A safe, lockbox, or hidden location works well.
Should I destroy my paper copy after engraving? +
Yes. Once your words are engraved and verified, destroy the paper copy to eliminate risk.
The full walkthrough
Every step, from practice plate to finished backup.